Artist Gear & Supplies
Choosing Cutting Mats, Craft Knives, and Straightedges for Your Studio
Match a cutting mat, knife, and straightedge to your paper, board, and workspace, with practical checks for cut quality, storage, and replacement parts.
Practical Guide · Product information checked October 30, 2026 · Researched from published sources.
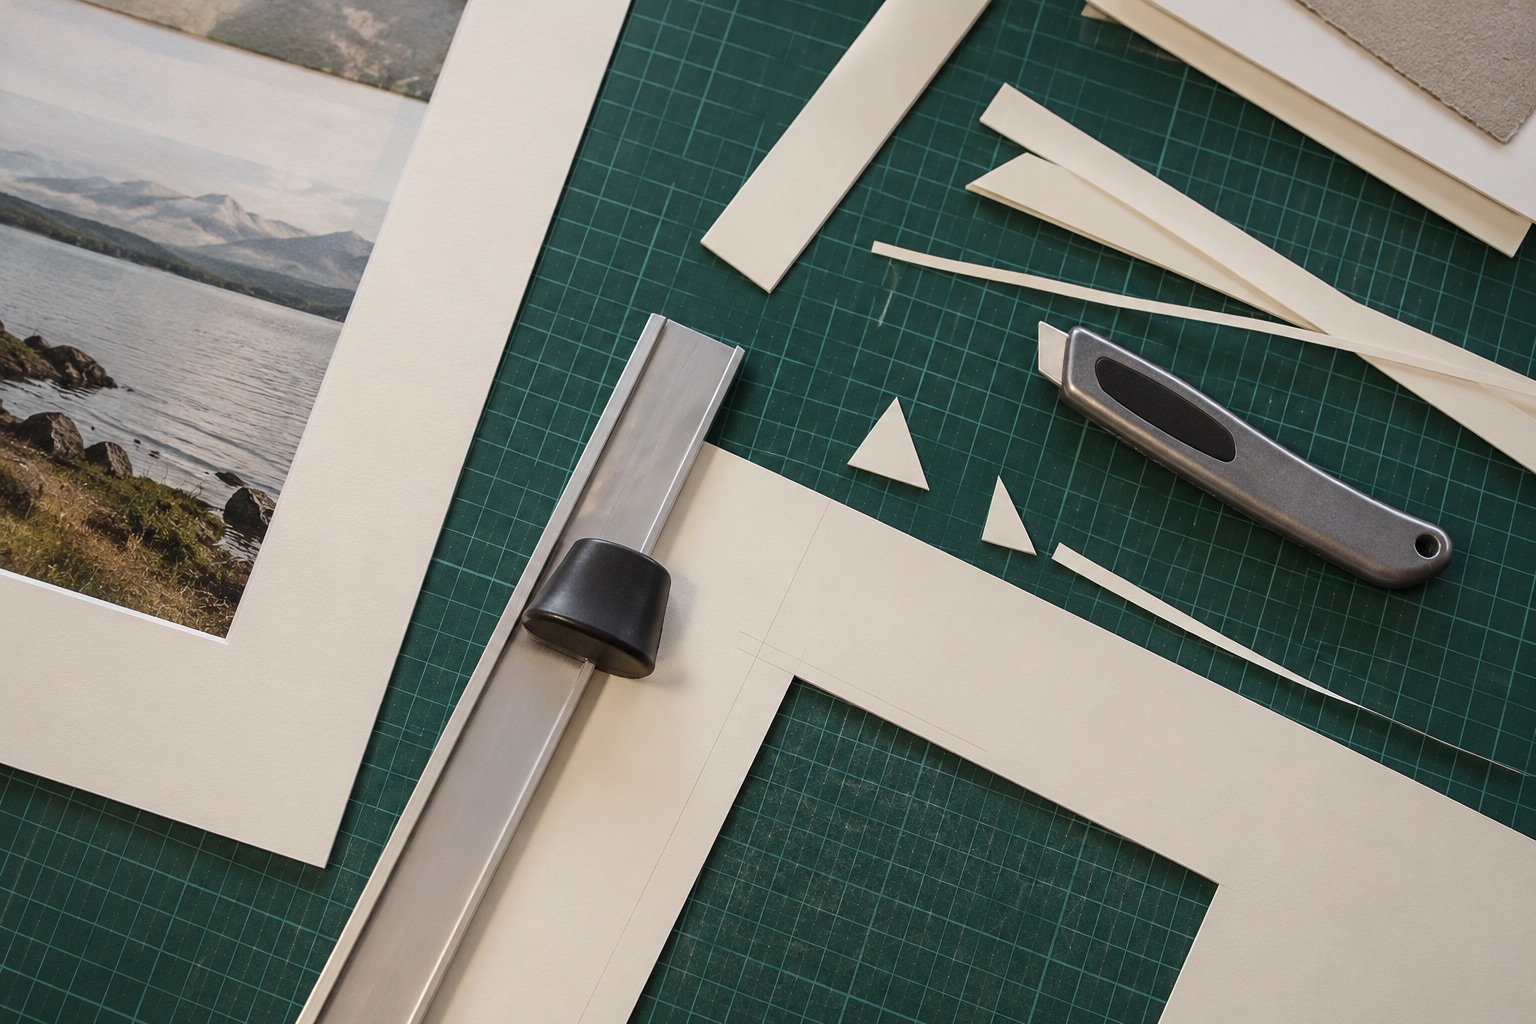
A clean cut depends on a compatible set of tools and a stable working surface. Choosing an expensive knife while overlooking the mat or straightedge can leave you fighting the same uneven edges. Begin with the material you cut most often, its thickness, and the largest sheet you need to handle.
Choose the cutting surface for the blade
Check the mat manufacturer’s guidance for the kind of cutter you use. Rotary mats, craft-knife mats, and machine-cutting mats are not interchangeable merely because each is called a cutting mat. OLFA’s mat range illustrates why the product’s stated compatibility matters.
Choose a size that supports the material through the cut while fitting fully on the bench. A large mat hanging over an edge does not create a larger stable table. Leave room for your hands, the straightedge, and the offcut without pushing tools toward the floor.
Fit the knife to the work
Fine paper trimming, heavy board cutting, and fabric cutting place different demands on a blade. Check the tool’s intended materials and blade type. Confirm that replacement blades are readily available and that changing them is straightforward according to the instructions.
Hold a sample tool if possible. The handle should let you control the cut without an awkward grip. A blade lock or retraction mechanism should operate positively. Follow the manufacturer’s handling guidance, keep your supporting hand out of the cutting path, and close or cover the blade whenever it is not in use.
Choose a straightedge you can control
Compare usable length, grip, edge condition, and any protective finger guard. A light ruler may work well for drawing but move when pressed into cutting service. Check that the cutting edge is appropriate for the knife and that the base does not mark your paper.
Do not treat printed grid lines as a substitute for checking the final dimensions of saleable work. Make a sample cut and measure the result with your usual measuring tool. For work destined for a frame, compare the finished piece with the actual mat opening and package dimensions; our framing guide explains the broader preparation process.
Test on offcuts first
Use the same material and thickness as the finished job. Check whether the edge is clean, whether the sheet shifts, and whether repeated cuts remain square. If a cut requires excessive force or the blade catches, stop and reassess the tool, blade condition, support, and material. Do not compensate by pressing harder through an unstable setup.
Keep a small sample of a successful cut with your studio notes. It gives you a useful comparison when deciding whether a blade or mat needs attention.
Plan for care and storage
Read the care instructions before choosing where the mat will live. OLFA’s FAQ, for example, advises keeping its mats flat and away from extreme temperatures. That guidance is specific to its products; follow the instructions for yours. Keep tools away from the edges of the workbench and provide an appropriate container for used blades.
A basic setup that has a permanent home is often easier to maintain than a larger collection that must be stacked and rearranged before every job. Use our small-studio organization guide to make a clear place for cutting, measuring, and finished work.