Artist Gear & Supplies
Organize a Small Art Studio: Work Zones, Tool Storage, and a Clear Bench
Organize a small art studio around the work you do, with clear making, finishing, packing, and storage zones that reduce repeated clearing and searching.
Practical Guide · Product information checked October 30, 2026 · Researched from published sources.
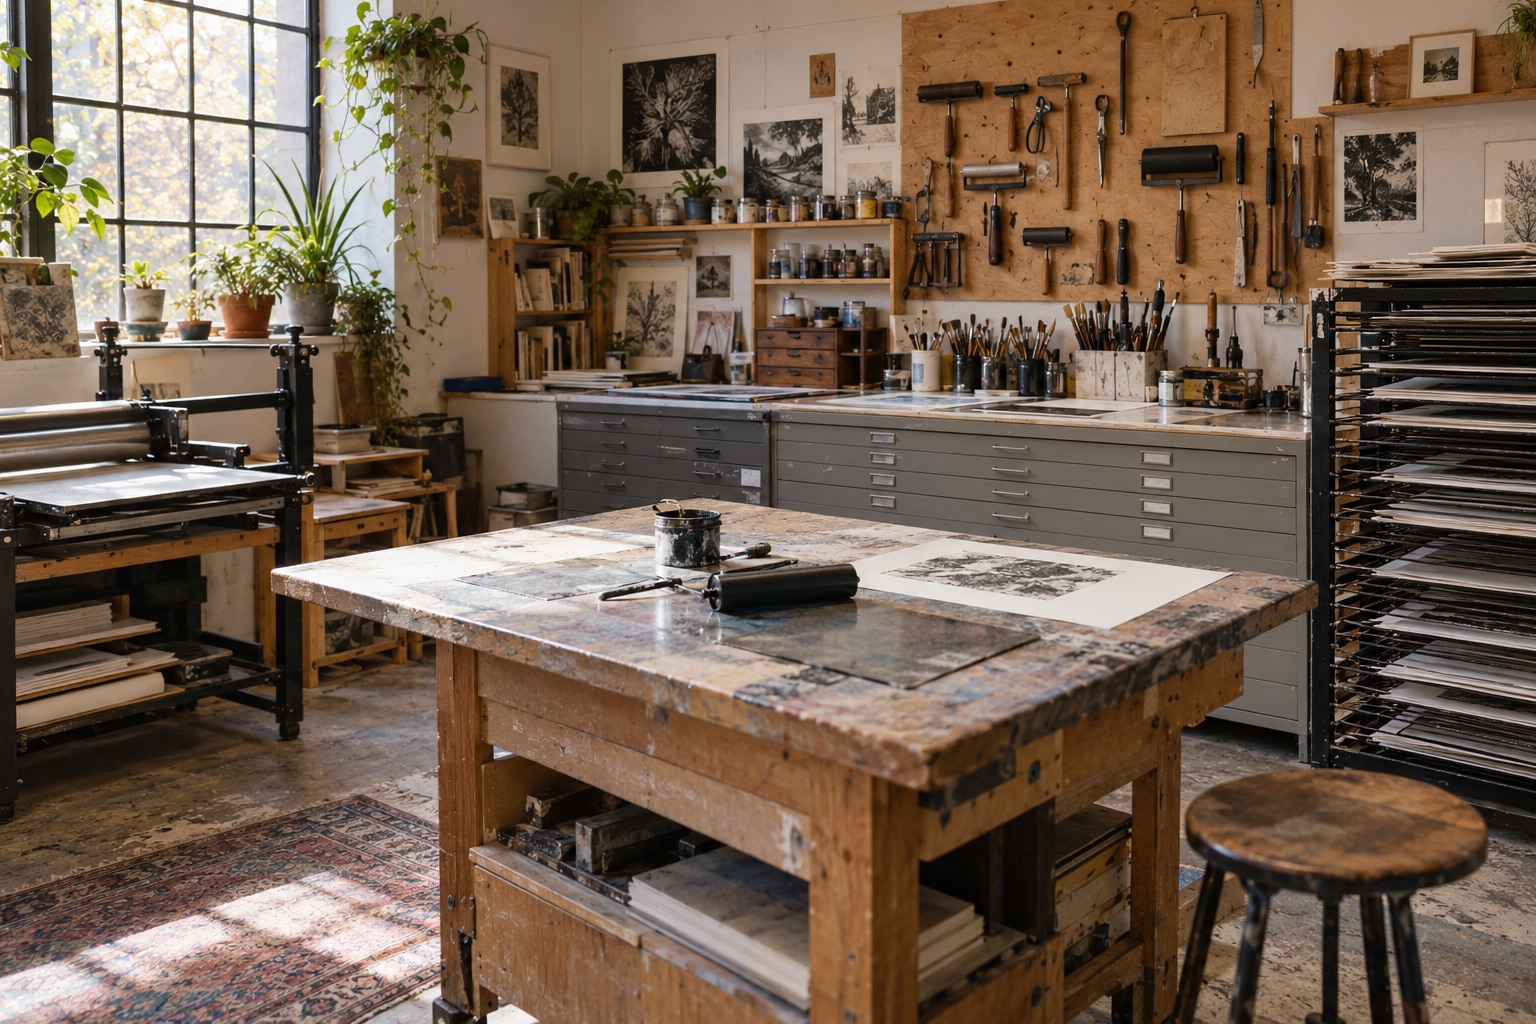
A small studio can feel crowded even when it contains relatively few supplies. The problem is often that each task begins by moving the previous one. Organize the room around the sequence of your work, then buy storage only for the problems that remain.
Follow one piece through the room
Choose a recent work and trace its path: materials arrive, the piece is made, it dries or cures, it is finished, photographed, recorded, and packed. Write down where you put it at each stage. The places where you improvise—on a chair, across a doorway, or beside a sink—deserve attention first.
Make a simple room drawing with doors, windows, outlets, and fixed equipment. Mark the route you need when carrying your largest work. Keep that route open rather than treating it as temporary storage between shows.
Give the bench one primary job
Decide what you need the main work surface to do most often. Keep the daily tools for that task within easy reach and move occasional supplies elsewhere. A clear bench does not have to look unused; it needs enough open, stable surface for the work in progress.
If the same bench must handle several tasks, use removable trays. One tray can hold drawing supplies, another packing tools. Put away the entire tray when changing tasks instead of repeatedly sorting individual objects. Keep clean paper and finished surfaces separate from messy materials and processes.
Create a place for work in progress
Set aside a shelf, rack, or flat surface sized for the pieces you actually make. Avoid a storage purchase based only on how many compartments it offers. Measure the largest item, allow room to retrieve it without rubbing adjacent work, and consider the drying or curing requirements of the medium.
For finished paintings, consult material-specific guidance such as the Canadian Conservation Institute’s storage notes. A convenient shelf is not automatically a suitable long-term environment for every artwork.
Sort by frequency and task
- Daily: The tools you use during most work sessions.
- Project: Materials grouped for a particular series or commission.
- Finishing: Framing and presentation supplies kept together and clean.
- Show: Booth hardware and checkout equipment packed apart from studio tools.
- Reserve: Replacement stock with a visible quantity and a clear reason to keep it.
Label containers with descriptions you can recognize from your working position. Keep a short inventory of expensive or frequently reordered supplies. Buying another bottle because you cannot find the first is a storage problem, not a materials shortage.
Buy the missing storage carefully
Measure the available space and confirm the manufacturer’s load ratings and installation requirements. Consider doors and drawers fully open, not just the closed footprint. Keep heavy items at a manageable height and use the manufacturer’s required restraints or anchoring arrangements.
Our guides to artwork storage shelves and cutting tools can help you plan two common work areas.
Review after a working week
Note what migrated back onto the bench and what you still had to search for. Adjust those locations before buying more organizers. Finish with a short reset routine: return daily tools, remove offcuts, and prepare the next usable surface. The best arrangement supports the work you make repeatedly.